
18 Nintendo Switch settings and aspects to configure on your new console that you should know before launching it. If you have just bought a Nintendo Switch, or have been given it for Christmas, here are the main settings that you should configure as soon as you turn on the console. With these considerations, it will be easier for you to start enjoying the Nintendo hybrid console.
With the gifts already in their respective homes, we are sure that many of you have received a brand new Nintendo Switch, in any of its models, whether it is a brand new Switch OLED, the Portable Switch Lite, or the first design.
Maybe you haven’t resisted the urge and are already giving your console a hard time, but you must take into account a series of settings and details to configure on your Nintendo Switch to get the most out of it.
Although the initial setup wizard helps us, we believe it is necessary to take these recommendations and tips into account to familiarize yourself with its interface, functions, and even some hidden secrets that you might overlook.
Do you know there is a quick menu? Do you have questions about how to apply parental control? Do you need help connecting wireless headphones? All these questions and many others have their answers in this report.
You may even have been playing with your Switch for a while and not know some of these configuration options, which will update your console and set it up to enjoy it for many, many hours.
If you have just received the brand new hybrid, here we leave you with 18 Nintendo Switch settings and aspects that you should know to configure your new console before releasing it. Of course, this is valid for any of the three models.
18 Nintendo Switch settings and aspects you should know to configure your new console before releasing it
First steps
Once you open the Nintendo Switch box, the first thing you must do is attach the controls (Joy-Con) to the screen. Both come in separate compartments, along with the charger, Dock, straps, and support for the controls.
Connect the console (the screen) with the Joy-Con attached to the power, using the USB port at the bottom. The console will then turn on and indicate that it is charging the battery.
The initial setup wizard is intuitive and easy to complete. We just have to follow the steps that appear on the screen (choose Avatar, nickname, Internet connection…) and, if at any time you make a mistake or want to change something, you can go back to a previous step.
They are the following:
- Console language and region settings
- Internet configuration (optional)
- Time zone
- Choose your user icon and nickname or transfer your user and save data from another console (this option is only available for consoles with version 4.0.0 or higher).
- Parental control (optional)
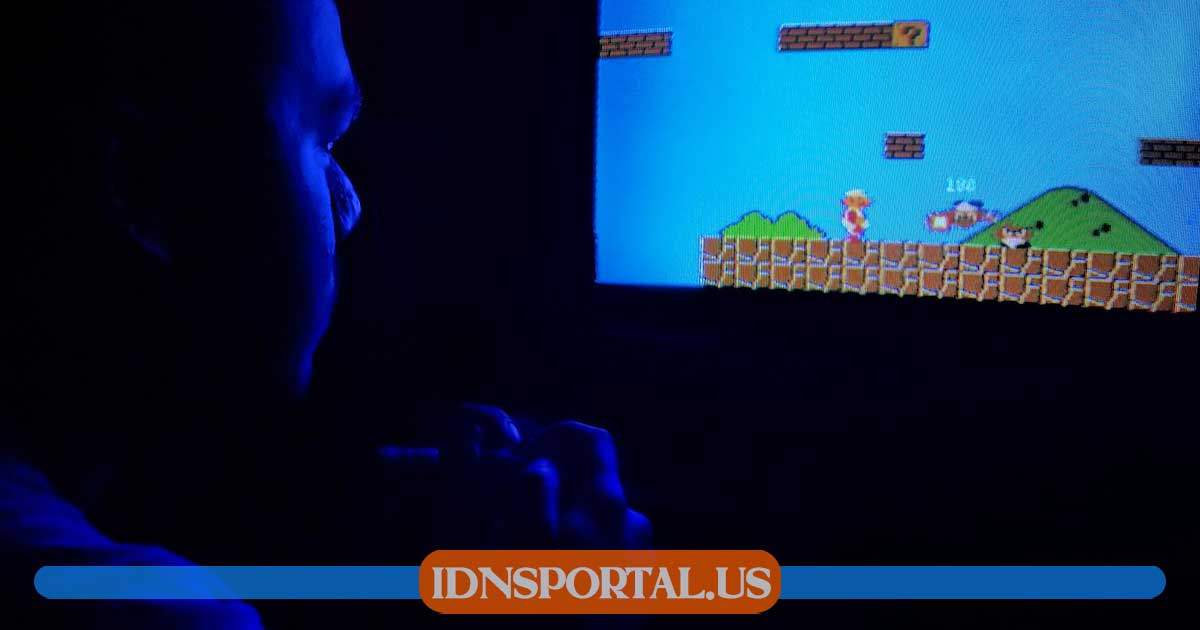
How the Dock and TV mode work
Although you will complete the first steps in handheld mode, you may want to play your Nintendo Switch in TV mode. To do this we just have to place our console in the Dock (the box-shaped accessory).
Connect the Nintendo Switch charger to the Dock via the USB-C port inside the dock, and then connect the HDMI cable (included in the box) connecting the dock to your television or monitor.
Once this is done, we just have to undock the controls and put the screen inside the Dock. Press L and R on the Joy-Con and the image will automatically be transferred to your monitor/TV.
Please note that your Nintendo Switch will charge while connected to TV mode, and the Joy-Con must be charged to play in TV mode.
How to set up parental controls
Your child may be the one who gets a new Nintendo Switch this Christmas, so pay attention to how parental controls work on the hybrid console. It is possible to configure it in different ways.
Although it can be done through a mobile app, here we will talk about the parental control options on the console itself. It’s easy to set up.
The first thing we need to do is go to Console Settings / Parental Controls / Parental Control Settings. Next, we will be asked to create a password (for the parent or guardian) and we will be asked if we want to make changes to said Nintendo Switch console.
Next, select Restriction Level. Different options will be displayed, divided between a default configuration and the possibility of customizing parental control settings.
These are the categories of parental control options :
- Restricted programs: It is possible to mute or hide certain programs (games and applications) that are not appropriate for your child. It can also be applied to captures and videos.
- Program rating system: prohibit your children from accessing games and applications by age rating ranges (+12, +16, +18), depending on your region (PEGI, USK…)
- Social Media Posts – Social media sharing can be disabled.
- Communication with other users: Restrict communication options in certain programs or at a general level. It can be modified as we want.
- VR Mode (3D Environment) – Restricts certain games and apps from playing in VR mode. It is recommended to deactivate it if your child is under 6 years old.
Once we have applied the parental control settings we want, save the changes and every time you want to modify something, you will have to use the PIN or password that you created at the beginning, as well as to access an age-restricted game.
The parental PIN must be between 4 and 8 digits, and it is recommended to use the numeric keypad directly (press +) to configure it.
Connect headphones and accessory setup
When it comes to playing online and communicating with friends on Nintendo Switch, we have two options: one, connect headphones (wireless and wired), and another, use the Switch Online voice chat app.
Yes, it is possible to use this app for iOS and Android, which syncs with our Switch Online subscription. We can use any audio device on our phone and enjoy its functions on the hybrid console.
However, you may just want to hear your video games more clearly and have a more immersive experience (or chat directly in some games like Fortnite). In this case, it is best to connect headphones to your Nintendo Switch.
The first option is to connect your wired headphones. It’s as simple as plugging them into the audio port, located on the top of the Nintendo Switch. It does not require any subscription and can be configured in the console’s audio options.
For a few months now, Nintendo Switch has also allowed you to connect accessories via Bluetooth, so you won’t need a cable. This also applies to headphones, of course.
To connect them you just have to go to Settings / Audio via Bluetooth. Activate Bluetooth reception on the console and tap Add device. Remember to activate the pairing mode of your headphones, and in a few seconds, you should be enjoying them on Switch.
Transfer data from one console to another
If you have changed from Nintendo Switch and want to use your saved data from games and applications, you should know that it is a simple process and will only take a few minutes.
Follow the next steps:
- From the Home menu, select Console Settings and go to Data Management. Here you will see all the programs you have installed in the Switch’s internal and SD memory, as well as the space we have left available.
- Under Data Management, go to Transfer Save Data. A drop-down menu will open with several options, but you must select Send save data to another console.
- Next, select the user whose data you want to transfer to another Nintendo Switch.
- Choose the games, data, and apps you want to transfer, and tap send.
- Turn on the other Nintendo Switch (where you want to receive the data). Please note that data will be permanently deleted from the old console.
- From the other Switch, go to settings and select Data Management. Once there, click on Transfer save data.
- Choose Receive save data, and make sure both Switches are very close to each other. In a few minutes, the process will be completed.
Create a My Nintendo account in advance
This is a recommendation, and until a few months ago it was not necessary. Nintendo confirmed last week that the company’s servers could become overloaded this Christmas, so keep that in mind.
That is to say, there will be countless users worldwide opening their first accounts on Nintendo Switch. Given this, the Big N recommends that we create a My Nintendo account before having the console.
If you are over 16 years old, you must go to this link and create your own account. Once this is done, when you start your console you will only have to enter your account information, and everything will be synchronized.
For those under 16 years of age, this process must be carried out by the legal guardian, since after filling in the information, their email and information will be requested. It is a parental control measure.
Use the quick menu
Nintendo Switch has a quick menu option, that allows you to close games and applications, put the console to sleep, or activate flight mode.
This is the Home button, which is represented by the symbol of a house and is located on the right Joy-Con. If we press it we will return to the console’s Home menu.
However, holding this button will open a quick menu with three options: sleep mode, brightness and volume adjustments, and activating flight mode.
This is a good way to save ourselves from having to go to the configuration or modify these parameters manually. Keep this in mind during your gaming sessions.
How to properly turn off the console
How do you turn off the Nintendo Switch? You may think that just pressing the power button on the top is enough, but this will only activate sleep mode.
This is good if we are only going to stop playing for a while, but if we leave it active for a long time the battery could run out. That is, the ideal is to turn off the console completely if you are not going to play soon.
This is very easy to do, but there is a trick. We must hold down the power button until three options appear on the screen, as happens with most mobile phones.
Of the three, select Power Options and then click Shut Down. This is the only option that turns off the Nintendo Switch console 100%.
Activate battery percentage
Nintendo Switch includes, by default, a symbol that shows the remaining battery. When it is charging a lightning bolt is displayed, while when it is running out it will turn red.
However, as with mobile devices, we are not shown the exact percentage of battery remaining. This can be activated in the settings menu.
To activate it, go to Console Settings / System / Turn on battery indicator. From now on, we will be shown the percentage (0-100) of battery that we have on the console.
Tips to save battery
In addition to completely turning off the console or connecting it to the Dock, there are a number of tips to make the battery last longer.
These are the best tips to make the Nintendo Switch battery last longer, and that you can apply in the Nintendo Switch settings menu:
- Activate flight mode: if you are not playing online, activate this game mode to avoid wasting battery on any connection.
- Lower the screen brightness: The higher the screen brightness, the more battery it will use.
- Lower the volume: it is less influential than the brightness, but it is also advisable to regulate it.
- Turn off Joy-Con vibration: Go to Controllers and turn off haptic vibration. This is one of the functions that consumes the most battery on the Switch.
Link your Nintendo Switch to social networks
Nintendo Switch incorporates great social features. Surely you are interested in linking your console to your Twitter or Facebook accounts: it is possible to do it in a few minutes.
To do this, go to User Settings / Social Network Settings. There you can enter your Twitter or Facebook user data, through which these accounts will be synchronized with your console.
Linking our social media accounts to Nintendo Switch is very useful. We can share screenshots, and video clips or even add friends that we have on these social networks.
Add your friends and acquaintances
You already know that it is possible to add friends by linking on social networks. All your Twitter or Facebook contacts who have an account on Nintendo Switch (and have it active) will appear here.
There are other ways to add friends. For example, we can search for a certain user by their friend code (or give them ours), local communication, or select between different social suggestions.
In addition to showing you your social network contacts, there is also the option to add contacts that we had on Wii U and 3DS, as well as Nintendo games for mobile devices.
How to search for controls using remote vibration
You may lose one of the Joy-Cons in the middle of your games (this can happen in games like Just Dance 2022 or Mario Party Superstars). To do this, place the straps on the controls and you will prevent them from being thrown off by accident.
Additionally, there is a way to find lost Nintendo Switch controllers. Remember haptic vibration? Well, it is also a valuable tool to detect them from a distance.
To do this, go to Controllers in the Switch Home menu, and select the Search Controllers option. The vibration of the remote you are missing will automatically… so start looking for it immediately.
Do you need a Switch Online subscription?
Nintendo Switch has its own online gaming subscription, such as PS Plus or Xbox Live Gold. This has a standard package and an expansion pack, as well as the always-useful family mode.
The biggest attraction of Switch Online is that it allows us to play online, and this is a real incentive for titles like Super Smash Bros Ultimate, Mario Kart 8 Deluxe, or Animal Crossing New Horizons.
Not only that, but we can also play great NES and SNES classics, or even Nintendo 64 and Mega Drive (if we subscribe to the expansion pack). We can also try free games from time to time.
The Nintendo Switch Online subscription is priced at 3.99 euros per month (7.99 per quarter and 19.99 per year), while the expansion pack costs 39.99 euros per year. Here you can learn more details about it. In the family mode, 34.99 euros for the annual fee and 69.99 euros for the expansion package.
Add users to your account
It is possible to create several user profiles on a Nintendo Switch, so that each player has a profile, and friend list… This can be done in Console Settings / User / Add User.
We will be asked to choose an avatar, name, and other details. If there is a user highlighted as the main user, the rest of the profiles can play the games installed on that console.
In addition, each user will be able to purchase games and applications in the eShop and will have their own progress independent of the saved data of the main profile.
How the power options menu works
You already know that to completely turn off the Nintendo Switch you need to hold down the power button and select Power Options. It is one of the three options available.
What are the other two? On the one hand, we have sleep mode, which is also activated if we press the power button once, or click the corresponding option in TV mode.
The other option allows us to restart our Nintendo Switch. In case of a crash or other problem, this way we can turn the console on and off in a few seconds. If the console does not respond for any reason, press the Power button for 20-30 seconds to force a restart
Change the theme from light to dark
Nintendo Switch has a white menu by default. This is described as a clear theme in the options menu, although you should know that it is possible to change it.
It may be prettier during the day, but at night it can easily dazzle… and uses more battery. For this, here is the solution: the Nintendo Switch dark theme.
To change the light theme to the dark one (and vice versa), you must go to Console Settings / Themes. It is said that Nintendo will release more themes for the console’s menu, although at the moment only those two are available.
Manage your console storage
Nintendo Switch has an internal storage capacity of 32GB (normal and Lite models), while the OLED model expands the figure up to 64GB.
In any case, it is possible to purchase an external SD card to expand storage. They come in many sizes and at very affordable prices (one server has 128GB, at a price of 19.99 euros).
In order to manage the storage of our Switch, we must go to Console Settings / Data Management. From there we can move data from the internal memory to the SD, delete programs, or delete shortcuts.
There is even an “Archive” option that allows you to keep the icon of a certain game in the menu but deletes all the data. Ideal for those who like to have their entire library of games and apps visually.
Bonus track only for OLED: screen protector
OLED screens, due to their technical characteristics, can present a “burn-in” problem if they display a fixed image on the screen for a long time, such as retro games with frames or with an indicator that is always fixed on the screen.
Although tests have been carried out and after more than 1800 hours with the same image the burn-in defect does not appear, Nintendo has introduced a specific option that only appears in the Nintendo Switch OLED menu, the screen saver.
You can also set the wait time to enter sleep mode if, for example, you leave the console on while you take a call. It is recommended that it turn off after 3 minutes or less.
These 18 Nintendo Switch settings and configurations are key to getting the most out of your console. In case you just received one for Christmas, we recommend that you keep them in mind.
Have they given you a Nintendo Switch? Do you have any questions about its initial configuration? The interface itself will make your path easier but don’t forget to take these considerations into account when configuring your brand-new console, and leave your questions in the comments.