Setting up an Outlook account on your Android is important if you use email frequently. This free email from Microsoft offers you many advantages, such as good management of incoming and outgoing messages. Likewise, it incorporates a variety of functions that will surely help you.
If that is just what you are looking for, you are in luck, because in this article I explain step by step how to configure your Outlook Android email. In reality, it is simpler than it seems. So, without further ado, you have all the necessary information below. Let’s get started!
Differences between an Outlook account and a Hotmail account on Android
Not all email services work the same on Android. You need to know what type of profile you are going to use to determine exactly whether you are going to set up an Exchange account in Outlook Android or a regular Hotmail account.
For example, Microsoft Outlook accounts used for work typically have an Exchange protocol. This means that it requires authorization from the main server to link contacts, dates, and emails on the mobile.
Standard Hotmail accounts, on the other hand, are of the POP3 type. Due to this, it is possible to access your messages stored on your mobile with their attachments, even if you do not have an internet connection.
How to configure Outlook on Android step-by-step
Whether you need to configure a corporate email in Outlook Android or a personal one, you must know each of the platform’s parameters. To do this, I have compiled all the information and methods you need to properly create and use your Hotmail or Outlook account on Android.
How to download and install Outlook on Android
On Android, you can install Outlook directly from the Play Store. You just have to click on the search engine and type “Outlook” to click on the “Install” button. It is also possible to open your email from a browser, but it is more convenient to have the official application:
How to configure Hotmail POP3 on Android
There are a few options that give you the freedom to customize your experience on your Hotmail pop3 account. Among its features you can change the theme, notifications, the order of messages, and much more, just as happens in iCloud on Android. To configure Hotmail on Android, follow these steps:
- Open the app and sign in.
- Tap your profile icon.
- Now, hit the “Settings” gear button.
- In “Email Accounts” you will see all the Outlook accounts that you have linked to the Android application. Just press the one you want to configure.
At this point you will be able to access the customizable parameters of your Outlook, which are the following:
- Automatic responses: by activating them, you can configure a schedule of automatic responses that will be sent to users who write to you within the indicated period of time.
- Sync Contacts: Activate to give the app permission to link your phone contacts to your Outlook.
- Synchronize calendar: used to link the dates saved in the mobile calendar with the Outlook account.
- Block external images: works so that messages from other people or clients do not contain images taken directly from the Internet.
- Suggested responses: When you are composing an email, some suggested responses will appear so you can complete your sentences faster.
- Microsoft Editor: This was the activation of the classic Hotmail editor.
- Language: you put your corresponding language.
- Report messages: Report spam or phishing to Microsoft.
- Online Meetings: Used to activate online meetings for all events registered in your calendar.
- Advanced Settings: Here you can only message support to change your email or phone number registered in the current Outlook account.
On the other hand, if you go back to “Settings” you can also set your account as default in each of the available sections. Here you can view other customizable functions, whether related to the use of email, your contacts, calendar, preferences, and more.
If at any time you regret the changes you have applied to your Outlook account, just press your email again and click the “Reset Account” button. With this, all parameters will return to their default state.
Set Outlook account as Exchange
As I already mentioned, Outlook Exchange accounts are primarily used as office email. Now, configuring this type of Hotmail is simple and the process is the same when using Android on Windows. Without further ado, follow these steps:
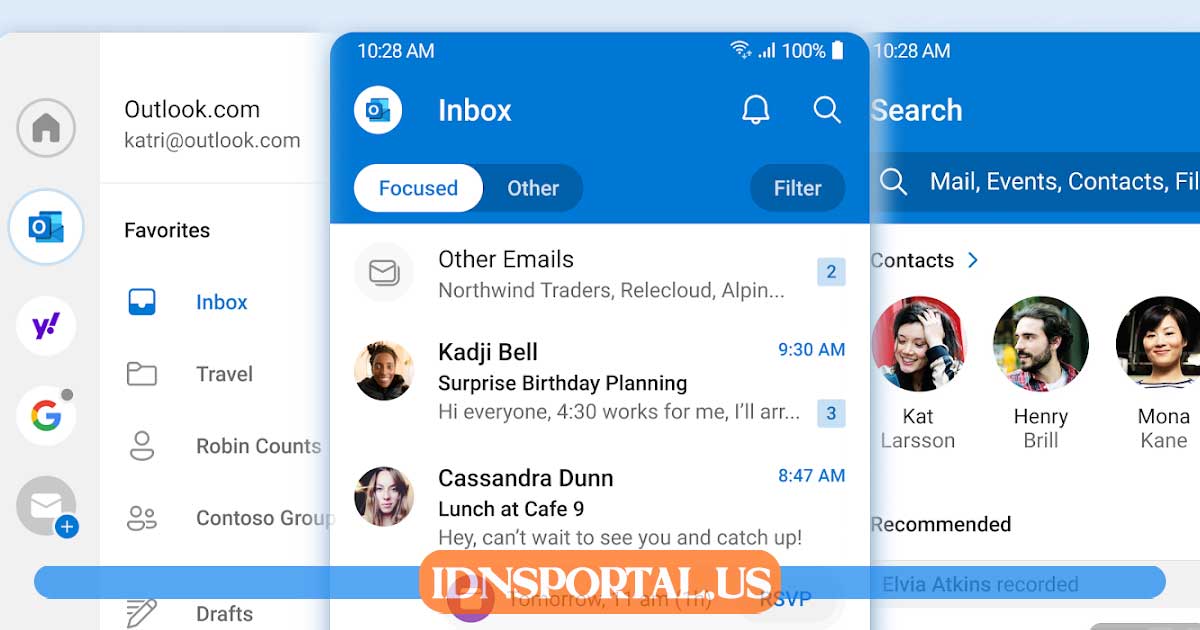
- Open the Outlook app and tap your profile icon in the top left corner of the screen.
- In this way, a window will be displayed from the left side. If you look in the lower left corner, you will see a gear icon, which you must press to access the “Settings” of your account.
- Go to the “Email Accounts” section and tap on the “Add Email Account” option.
- Then, press “Add Email Account” again.
- Choose the “Exchange” option.
- Subsequently, you must enter your company email and password.
- Click on “Sign In” to continue.
In the event that you cannot automatically log into Outlook Exchange, you will have to enter the following information:
- Server Name: Typically, this is the same name you entered when you requested Outlook email.
- Domain: you can get it from the IT team if it is a corporate email, although it is optional.
- Username: Your company email.
- Password: password for your email account.
If you run into any problems, you could go to the official Microsoft website and look for possible solutions for synchronizing corporate Outlook accounts.
- Go back to Outlook “Settings” and select the “Default” option to add the account you just synced.
- Once your account is linked, in the same “Email Accounts” section, press the corresponding email.
- The respective “Settings” of your Outlook Exchange will open to configure or customize the parameters of your business email.
Manually configure an Outlook account as an Exchange
Another way to configure your Outlook Exchange account is through the Android Hotmail incoming server settings. In a nutshell, this is the manual way to do the configuration. Although it is more tedious than the previous one, it is a good option if you have problems with your corporate email.
In this case, the only thing that changes is that you have to enter more specific data. Well, do the following actions from the Outlook app:
- Enter “Settings”.
- In the “Email Accounts” section, click on “Add Email Account”.
- Click on “Add Email Account”.
- Write the email address and enter your password. Then click “Continue”.
- Click on “Configure the Account Manually”.
- When the email provider page opens, select “Exchange” and toggle the “Advanced Settings” button to On.
Here you will see a form that you must fill out with the information of your incoming and outgoing server account. If you don’t know what to put in these parameters, you don’t have to worry, since in the following information I explain everything you should put.
Incoming server configuration
- Domain\Username: Your email address.
- Password: your key to access the email.
- Server: For Exchange accounts, you must go to the “Find Server Settings” section of your Exchange mailbox or ask your IT administrator for the information. For Microsoft 36 work or school accounts use “outlook.office365.com.”
- Port: 443 or 993.
- Security type: select “SSL/TLS” or activate the “Secure Connection (SSL)” box.
Outgoing (SMTP) server configuration
- SMTP Server: For Exchange accounts, you have to ask the server’s IT administrator for the information. For professional or educational Microsoft 365 you have to enter “smtp.office365.com”.
- Security type: TLS.
- Port number: 587.
How to configure an IMAP account in Outlook Android
IMAP is an email protocol that allows messages to be accessed from any device without having to download them. This makes it easier to synchronize and manage folders and emails on different platforms. To configure an IMAP account in Outlook Android, follow these steps:
- Open the Outlook app and tap the profile icon.
- In the left sidebar you will see a “+” icon, click there to continue.
- Choose “Add an Account”. If you don’t have an IMAP account yet, you can create one by clicking on “Create a New Account”.
- Enter the email address you want to configure and click “Continue”. You could also open it directly with Google.
- Select the “IMAP” option.
- Fill out the incoming and outgoing server information fields, based on the data provided by your email provider. It is the same process of the Android Hotmail server for Outlook Exchange.
- Press “Sign in” and wait for the account to be verified.
- If everything has gone well, you will be able to access the emails from the Outlook Android inbox.
That would be all! If you have questions or suggestions about how to configure Outlook on Android, you can always leave your comments. I invite you to share this article on all your social networks if it has been useful to you.


Leave a Reply
View Comments